Last Updated: November 8, 2026
Quick Summary
The best finishing tools for graphic arts are trimmers, cutters, laminators, and bindery equipment matched to your jobs, materials, and volume. Every setup must handle cutting and trimming, laminating, creasing and folding, and binding, so match equipment capacity to your actual job mix rather than brochure maximum specs.
- A two-person shop can cover all four finishing jobs with a flatbed cutter, roll laminator, manual creaser, and tabletop binding machine.
- Buying a roll cutter to process rigid stock is a common and costly mistake.
- Test tracking on a full-length roll before buying a vinyl cutter, since drift produces ragged edges.
- Set laminator tension per substrate rather than once and forgetting it.
- Replace blades and cutting strips on a schedule, not when cuts start tearing.
Table of Contents
- How Finishing Tools Decide Your Shop’s Throughput and Profit
- Wide-Format Finishing Equipment: Trimmers, Cutters, and Their Specs
- Vinyl Cutting Tools: Precision Where the Wrap Meets the Edge
- Wide-Format Laminators: Protecting Prints Without Wasting Media
- Sign Shop Equipment: Budgeting, Safety, and Maintenance That Protects Uptime
- Choosing Your Finishing Setup With Pony Graphics
- Frequently Asked Questions
How Finishing Tools Decide Your Shop’s Throughput and Profit
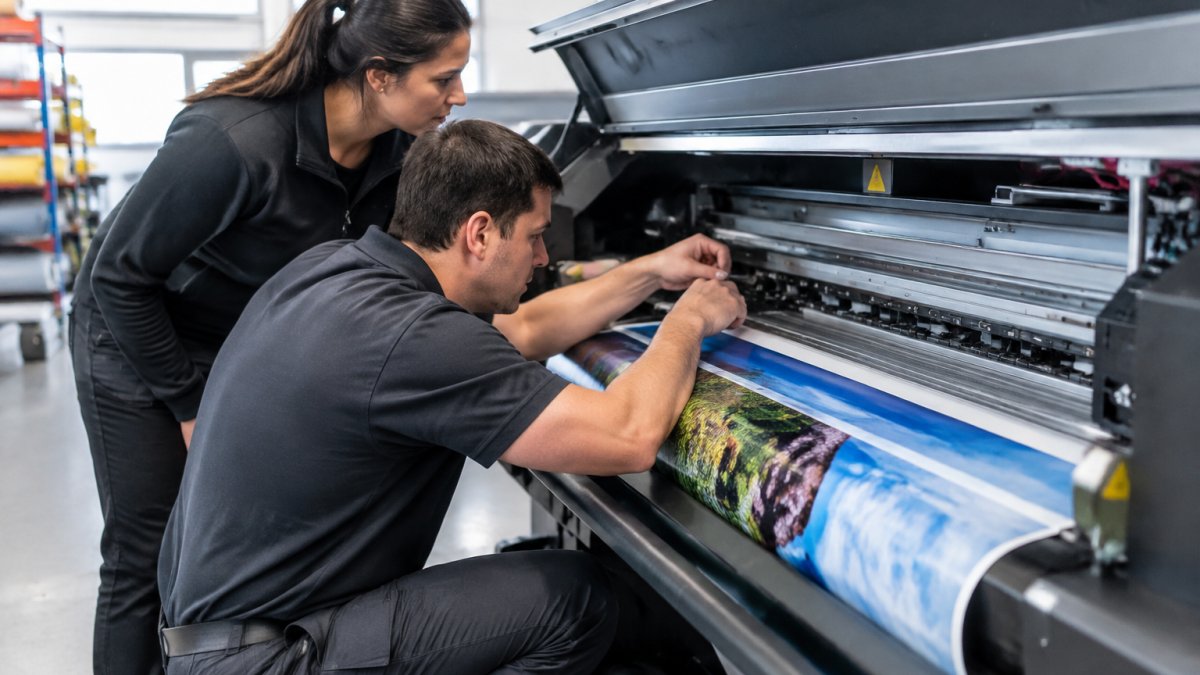
The best finishing tools for graphic arts turn a printed sheet into a sellable product: trimmers, cutters, laminators, and bindery equipment matched to your jobs, materials, and volume. Many shops buy presses first and finishing last, then lose margin on every job.
Finishing is where throughput is won or lost. A misaligned trim wastes a full sheet of substrate; a laminator that fights you adds minutes to every job. Across a week, the bargain machine becomes the most expensive thing in the building.
The Four Jobs Every Finishing Setup Must Handle
Every production workflow, regardless of size, needs to do four things well. Miss one and jobs bottleneck.
- Cutting and trimming to final size, square and clean
- Laminating for protection, finish, and durability
- Creasing and folding for packaging, cards, and folded pieces
- Binding for multi-page work, booklets, and presentation sets
A two-person shop might handle all four with a flatbed cutter, a roll laminator, a manual creaser, and a tabletop binding machine. A larger operation splits them across dedicated stations. Either way, match equipment capacity to your actual job mix, not the brochure’s maximum specs.
Wide-Format Finishing Equipment: Trimmers, Cutters, and Their Specs
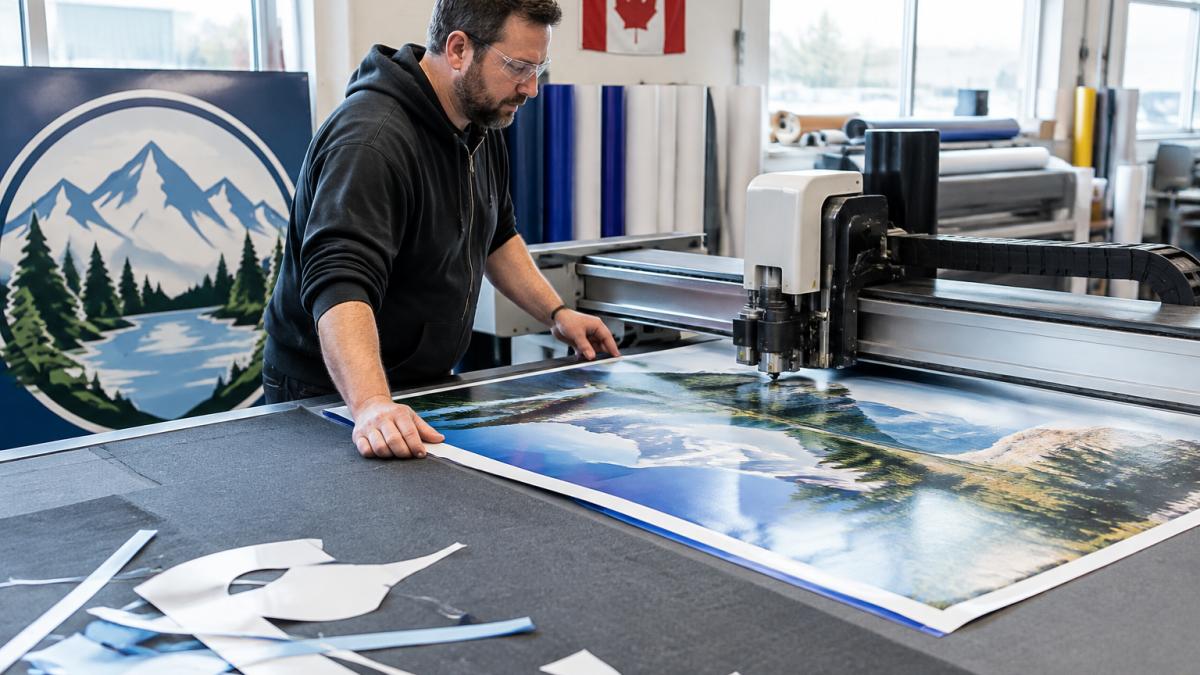
Wide-format finishing equipment is specified by cut width, substrate thickness capacity, and throughput, and those three numbers decide which jobs you can take. A cutter rated for rigid substrates handles foam board and aluminum composite; one built for roll media handles banners and vinyl. Buying a roll cutter to process rigid stock is a common and costly mistake.
Look at these specifications before you commit:
|
Spec |
What It Tells You |
Why It Matters |
|---|---|---|
|
Maximum cut width |
Widest substrate the machine accepts |
Caps your largest sellable sign |
|
Substrate thickness |
Rigid stock it can handle |
Decides foam board and composite work |
|
Cutting method |
Blade, wheel, or digital |
Affects edge quality and setup time |
|
Throughput |
Sheets or meters per hour |
Sets your daily job ceiling |
|
Footprint |
Floor space required |
Small shops run out of room fast |
Flatbed vs Roll Cutters: Matching the Machine to the Job
Flatbed cutters hold the substrate flat and move a cutting head across it, excelling at rigid materials, short runs, and precise, repeated cuts. Roll cutters feed media through and shine on long banners, vinyl, and continuous production.
If most of your work is rigid signage, packaging prototypes, or short-run custom pieces, a flatbed fits better. If you run banners, wraps, and long-format graphics daily, a roll cutter keeps throughput high. Many growing shops eventually run both; start with the one matching your top revenue job.
Vinyl Cutting Tools: Precision Where the Wrap Meets the Edge
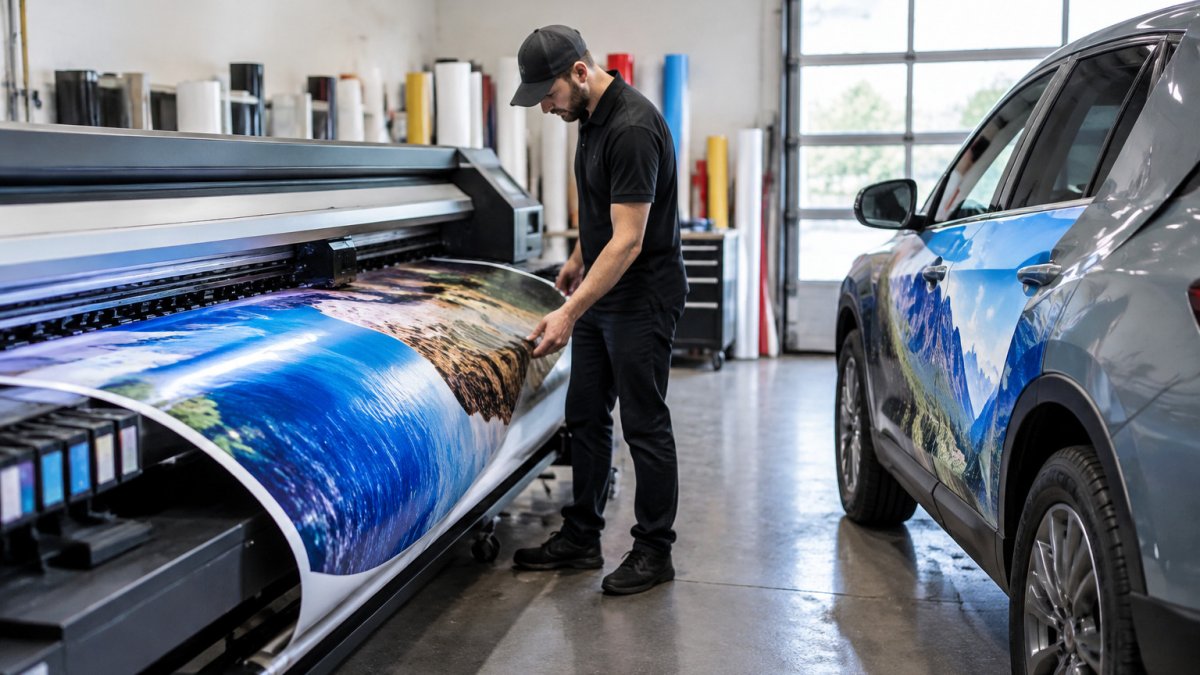
Vinyl cutting tools sit between printing and finishing, and in a finishing context they’re judged on one thing: whether the cut edge is clean enough to skip rework.
When you evaluate a vinyl cutter as finishing equipment, compare these specifications side by side:
|
Spec |
What It Tells You |
Why It Matters in Finishing |
|---|---|---|
|
Maximum cut width |
Widest roll the machine accepts |
Caps your largest sellable decal or panel |
|
Downforce range |
How much pressure the blade applies |
Decides whether you can cut thick cast vinyl and laminates cleanly |
|
Tracking accuracy over run length |
Whether the media stays aligned |
Long runs either stay square or drift into scrap |
|
Blade types supported |
Drag, tangential, or oscillating |
Affects edge quality on thick or laminated stock |
|
Cut speed vs. acceleration |
Real throughput, not brochure peak |
Acceleration usually limits real job time more than top speed |
|
Media feed method |
Roll feed, sheet feed, or flatbed |
Determines whether you can handle rigid or pre-laminated sheets |
Matching the Cutter to the Finishing Job
A vinyl cutter is a category, not one tool. When these jobs extend from cutting sheets to producing large-format graphics, the choice of a plotter becomes part of the same workflow, and Velocity Plotters can help frame that decision.
Buy for your dominant finishing job, not the widest capability on the spec sheet. If most of your work is decals and window graphics on cast vinyl, a tangential roll cutter with verified tracking is the better investment.
Watch out: buying a cutter for advertised top speed and ignoring tracking is the most common and costly mistake. If clean edges and less rework are your priority, look at air-free vinyl options that reduce bubbles and application time. Shops shopping cutters now can also browse current cutter sale offers to compare models and pricing.
Wide-Format Laminators: Protecting Prints Without Wasting Media
Wide-format laminators protect prints and add finish, but the wrong one wastes more media than it saves.
Cold laminators suit heat-sensitive media and are simpler to run. If you’re evaluating a specific model, you can review the Vision Sign Tools LF1700HA laminator to check its specs against your workload.
Watch out: running a laminator at the wrong tension for the media is the fastest way to wrinkle a full roll. Set tension per substrate, not once and forget.
Sign Shop Equipment: Budgeting, Safety, and Maintenance That Protects Uptime
Sign shop equipment budgets fail when buyers price the machine and forget everything around it. A full finishing setup includes the cutter or trimmer, laminator, creaser or folder, binding machine, consumables, blades, floor space, and power. Price each piece against the jobs it will process, and factor operating cost per job rather than purchase price alone.
The cost structure of a finishing setup breaks into four buckets, and each behaves differently:
- Capital cost, the machine itself, plus installation, freight, and any electrical work. This is the number buyers focus on and the one that matters least over the machine’s life.
- Consumables, blades, laminate film, creasing matrices, binding coils and combs, and adhesive. These scale directly with job volume and are where a poorly matched machine quietly drains margin.
- Maintenance and repair, scheduled service, replacement rollers, and downtime. A machine with no local service support turns a small repair into a week of lost production.
- Operator time, setup, changeover, and babysitting. A machine that needs constant attention on every job costs more in labor than it saves in purchase price.
A common pattern is comparing machines on capital cost alone, then discovering consumables and operator time dominate real cost per job. Price a representative week of your own work, sheets, laminate, blade changes, and run each candidate against it.
Safety and Maintenance That Protect Uptime
Maintenance protects uptime more than any single purchase, and the habits that matter are specific to finishing equipment:
- Replace blades and cutting strips on a schedule, not when cuts start tearing. A dull blade tears substrate and produces rework long before it fails outright.
- Clean laminator rollers and cutting surfaces after every production run. Adhesive buildup on rollers causes silvering and bubbles that show up jobs later.
- Log service intervals and consumable changes so a machine never fails mid-rush, and keep a spare set of the parts that stop production when they wear out.
- Train every operator on setup and tension adjustment, so quality does not depend on one person being on shift.
Safety around finishing equipment is mostly about guards, eye protection, and training. Cutting and trimming stations should have finger guards and push sticks in reach, and no operator should reach into a cutter path to clear a jam while powered. Laminators run hot; heat rollers and feed areas need guarding and a cool-down routine before servicing.
For current pricing on any setup, create an account online and check our pricing page rather than guessing at figures, and confirm local service support before you commit to a machine that will sit at the center of your production floor.
Choosing Your Finishing Setup With Pony Graphics
Choosing a finishing setup comes down to matching equipment to your job mix, then backing it with support that keeps machines running. To see the machines before you commit, book a live demo at our showroom.
Our advice is simple: buy for the jobs you run every week, not the ones you hope to land, and insist on a service team that answers when a machine goes down mid-rush.
Ready to stop losing margin to slow finishing? Pony Graphics can help you build a setup sized to your shop, backed by technical consultation and ongoing service support.
Frequently Asked Questions
What finishing equipment does a sign shop need to start?
A workable starter setup covers four jobs: cutting, trimming, laminating, and application. Most small shops begin with a vinyl cutter, a wide-format laminator, a heavy-duty trimmer, and application tools such as squeegees and felt-edged blades. Add a flatbed cutter once rigid substrates and die-cut shapes become regular work. Size each machine to your largest common job rather than your largest possible job, and confirm local service support before buying.
What is the difference between a flatbed cutter and a roll cutter?
A roll cutter feeds vinyl or print media from a roll and cuts contours or strips, which suits decals, lettering, and vehicle wrap panels. A flatbed cutter holds rigid or semi-rigid sheets, such as foam board, corrugated plastic, and mounted prints, and can crease, rout, or cut shapes. Many shops run both: the roll cutter for volume vinyl work and the flatbed for signage substrates. Choose based on the materials you handle most, not on which machine looks more versatile.
Which tools help apply vinyl graphics without bubbles?
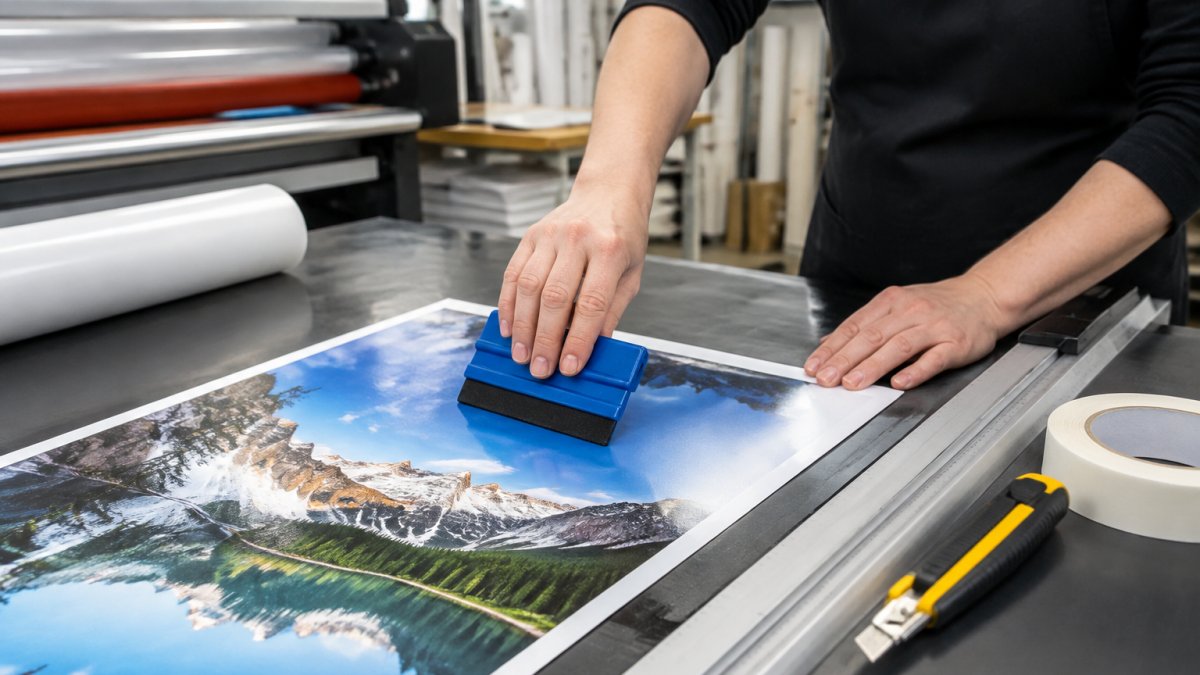
Bubble-free application depends on three things: a clean surface, controlled slip, and steady pressure. Use a felt-edged squeegee for flat panels, a hard squeegee for post-heating and edges, and application fluid or a low-tack air-release vinyl where positioning matters. For large panels, a applicator with a roller helps keep even pressure across the width. Pair these with a heat gun for stretching around curves and a knife with fresh blades for trimming, since dull blades tear vinyl and create lifting edges.
How do you choose a finishing system for a print shop?
Start with the jobs you run weekly: their media width, thickness, and volume. Match cutter and laminator widths to your printer so you never trim down a finished print to fit a machine. Then compare measurable specs such as maximum media width, cutting force, laminating speed, and setup time between jobs. Factor in consumables, blade and roller replacement, and technician response time.